The
Content-Aware Move Tool works opposite from the Patch Tool. With this tool, we
draw a selection area and then click that area and move it to a spot in the
image where we want to relocate it. Photoshop fills the original spot by looking
at the surrounding pixels. Let's get some practice.
-
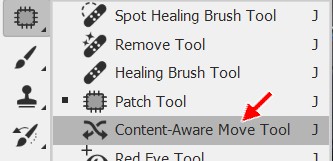
Right-click the Patch Tool and then click the Content-Aware Move Tool...
-
On
the Content-Aware Move Tool options bar, make sure New Selection is selected...

-
Staying in the same area of the photo, click and drag to create a selection area
similar in shape to the one below...
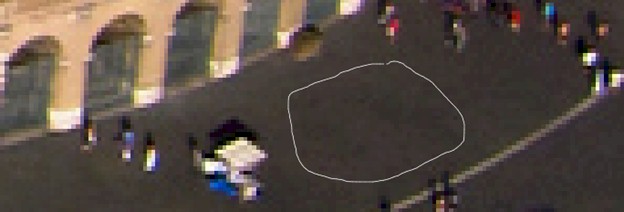
Notice that when you release the mouse button that your drawing coverts to a
selection outline
-
Click and drag the selection area to so that it covers the kiosk to the left...
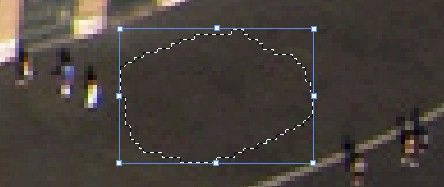
Note when you release the mouse button that
the kiosk has been replaced with the
concrete area (and that your selection area now has resize handles around it)
-
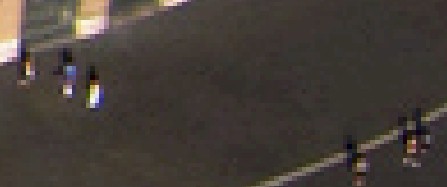
Press Enter on the keyboard to apply the Content-Aware move
-
Press Ctrl+D to deselect...
The
Content-Aware Move Tool is very useful for removing people and objects that are
very close to items we want to keep like buildings and trees. Since we control
the shape, we can make selections of any size and use those to replace anything
we don't want in the image. Once
again, keep in mind that Photoshop is not simply replacing the area you drag the
selection over. Instead, it is blending the
two areas together, so be careful what area you choose to move and what areas
you choose to replace. If the areas are vastly different in color,
tone, tint, etc, you will get all kinds of strange results.
|
I want to take a quick second here to point out something very
important. As I mentioned back in the Introduction in the brief descriptions
of each removal method, the Content-Aware Move Tool is generally
used to move objects within an image. For example, instead of
getting rid of the kiosk that we removed in this step, I could
instead use the Content-Aware Move Tool to relocated the kiosk to a
different part of the image. Photoshop would then fill the area that
the kiosk originally occupied with concrete so that it would be
impossible to tell where it originally came from.
As you can see from this step, the tool is just as capable at removing
objects as it is in moving them. If you are working with images in the future
and you need to move things around, keep in mind that the Content-Aware Move
Tool is an effective tool to pull this off.
|
-
Go
around the image and remove any people or objects that the Content-Aware
Move Tool will
be quick and effective on
HINT: As mentioned above, this tool works great on objects next to
buildings, so take advantage of that, but be careful - if you try to replace
objects that are really large you will get fuzzy distortions, so be ready to
undo your changes and use a different method if this happens (fuzzy
distortions are BAD because they make it obvious that something has been
changed or removed, and we want to avoid this at all costs)
Let's save
our work up to this point.
-
Save the image
In the next step, we will move away from individual tools and use a method
that, while similar to the tool used in this Step, gives Photoshop a little more
power to adjust our image.